

Mix2Mold Cloud Trinket Trays
If you’ve been following along for a while, you may know that I love clouds. I take sky pictures all the time, and I’m just fascinated by all the different types of clouds. I’ve incorporated clouds into different crafts that I’ve made, and I saw another opportunity to do so with these cloud trinket trays and coasters.
I’ve become a huge fan of Mix2Mold, and I’m always looking for new and different ways to use it. I love that I can get an idea, pull out my Mix2Mold supplies, and be done in under two hours—with really cool things to show for it! You can read about my earlier experience with Mix2Mold here and here.
Here’s what I used for this project:
- White Mix2Mold
- Assorted molds
- Plastic cups for mixing (you could also use silicone)
- Mixing and measuring instruments
- Blue paint (you could also use Mix2Mold colorant or mica powder)

To start, I mixed up a small batch of Mix2Mold for the clouds. I didn’t follow the recommended measurements exactly because I needed it to be thicker than usual. Otherwise the clouds wouldn’t hold their shape. I poured powder into a cup and then added water a little bit at a time, mixing and checking until it was the right consistency. When I accidentally added too much water, I added more powder. This really is a forgiving medium.
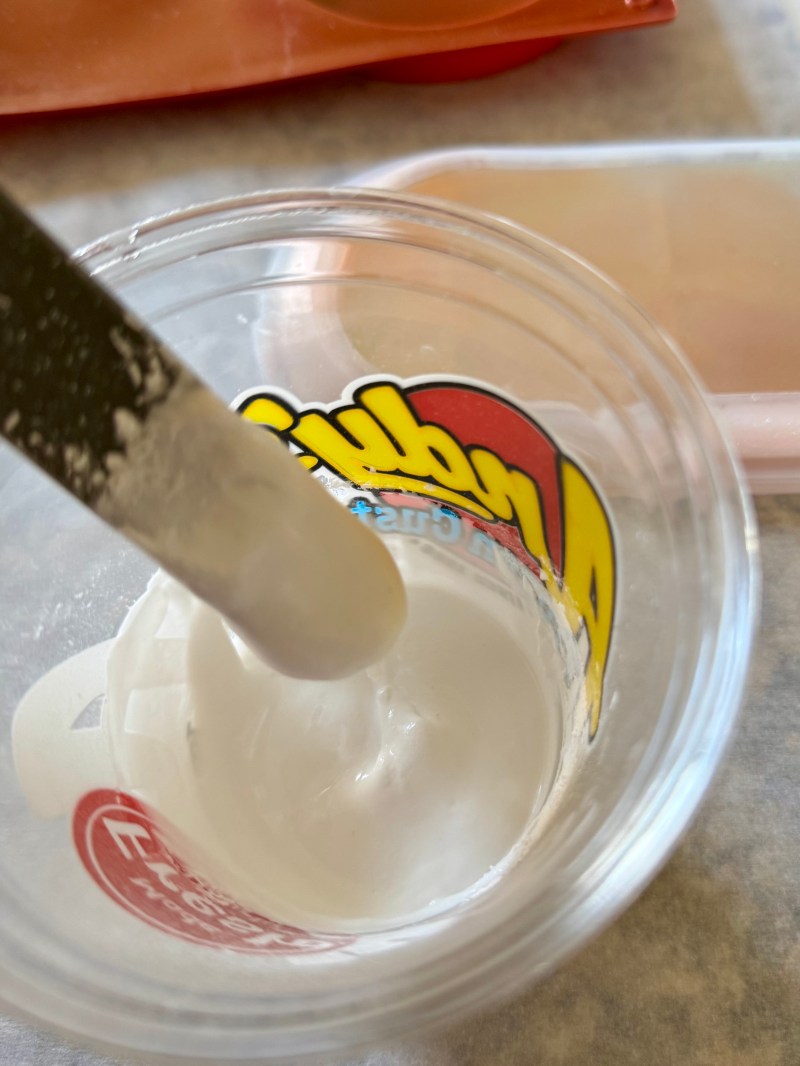
Once I was satisfied with the mixture, I used one of my plastic tools to dab some clouds on the bottoms of my molds. I should have grabbed something smaller to make it easier on myself (a small popsicle stick probably would have been perfect), but I made it work. I didn’t worry about making them perfectly smooth on top because I knew I’d be covering them up with sky.

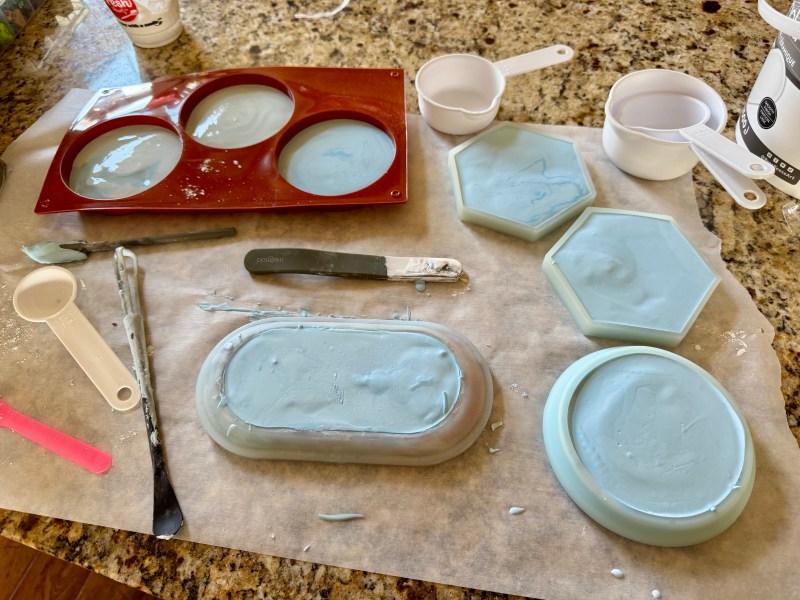
I waited a bit for the clouds to set up a little bit, and then I mixed a second, bigger batch of Mix2Mold. I followed the recommended amounts so that I would get a thinner consistency this time. I also added some blue paint to tint it just enough to make it pretty sky blue. My advice is to add a little at a time until you get the color you want. Alternatively, you could use the ready-made blue Mix2Mold if you can find it. (I only have a little of that left, so it didn’t even occur to me until now.)
As I was pouring the blue mixture, I realized I probably could have gone even thinner. It was a bit of a challenge to get it all the way into a couple of the molds (the oval tray and the round dish). In using a tool to guide the mixture down the sides of those molds, I ended up moving some of the clouds around a little bit. It was easy to move them back, and I actually think the clouds look a little more realistic that way.
I had to mix a total of three batches to fill the molds I had, and while they aren’t all exactly the same color, it works.
Then came the hard part, the waiting. Fortunately, with Mix2Mold you only have to wait an hour!
My favorite part is the demolding. You never know what you’re going to get. This was an experiment, so I was a little extra nervous.
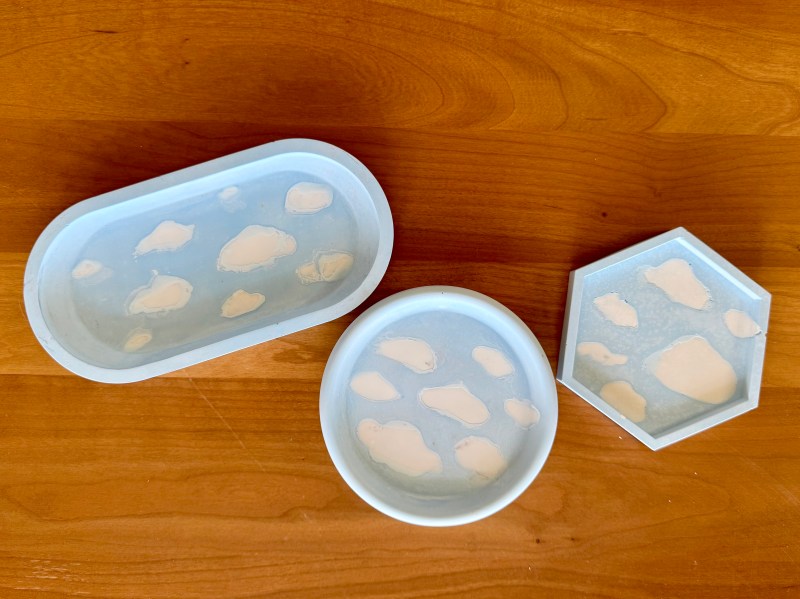

Overall, I think it was a success! I got a few more bubbles than I hoped, but that’s really no big deal. I also realized that some of my coasters are not very level. I might have rushed the process a little more than I should have, so next time I’ll take care to tap the molds more and try to level the mixture.
I haven’t done it yet, but I intend to sand down the bottoms of most of the pieces I made. I’ll also use sealant on them as a final step. I was eager to share, so that can wait.
What do you think? What should I try next with Mix2Mold? Let me know in the comments!
