

Colorful Plastic Spoon and Alcohol Ink Tree
I did not realize that plastic spoon trees were a thing until after I had the idea for this one. This tree was inspired by one I saw online, but that one was not made out of spoons. It was colorful, and something about the colors reminded me of alcohol ink.
I first thought about getting a plain white ceramic (or something similar) tree and coloring it with alcohol ink. But then I started considering making it out of something unexpected. I remember sitting in a drive-thru and saying to my husband, “What if I used spoons?!” He looked very skeptical.
Yet here we are! Sometimes you just have to go for it and see what happens.
I saw a lot of tutorials for plastic spoon trees that were spray-painted or glittered. I think all of them were just a single color. This one is undoubtedly more labor-intensive, but I think it’s worth it.
Disclosure: This post may include affiliate links through the Amazon affiliate program or other affiliate partnerships. If you click on a link and buy something, I may receive a commission at no additional cost to you.
Most of the tutorials I read used a paper mache cone or one made out of poster board, but I used a 12” foam cone.
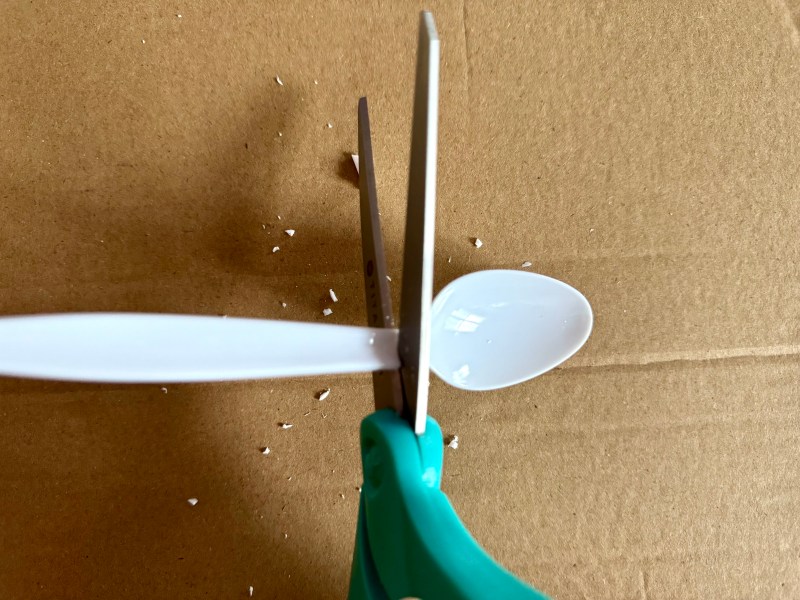
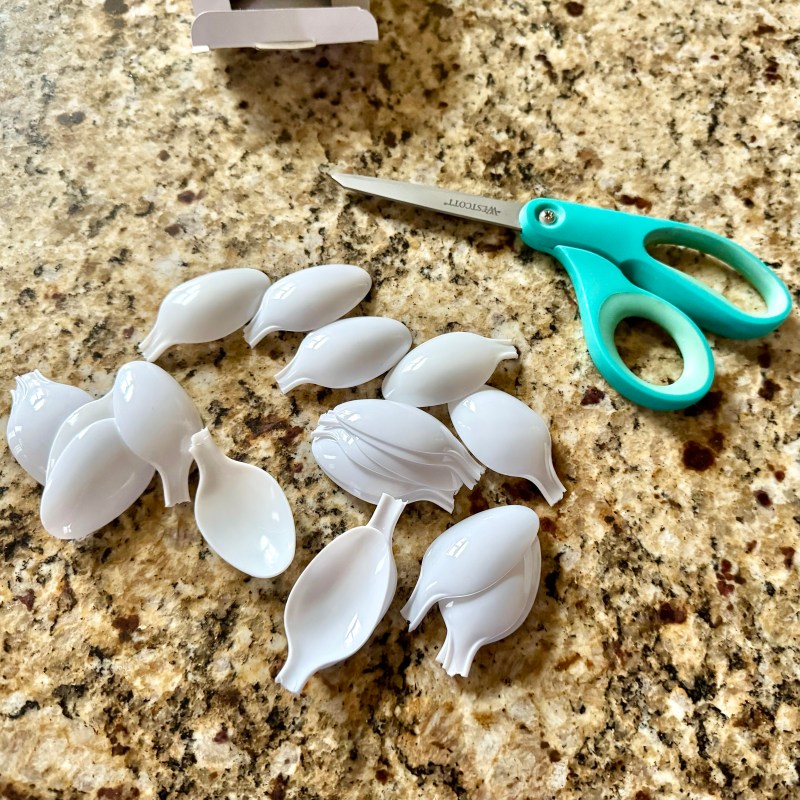
The first thing I did was cut down the spoons. I used a regular pair of scissors and left 1/4-1/2” of handle on each one. That little bit doubled as something to hold onto while I colored the spoons as well as a spot to put the glue.
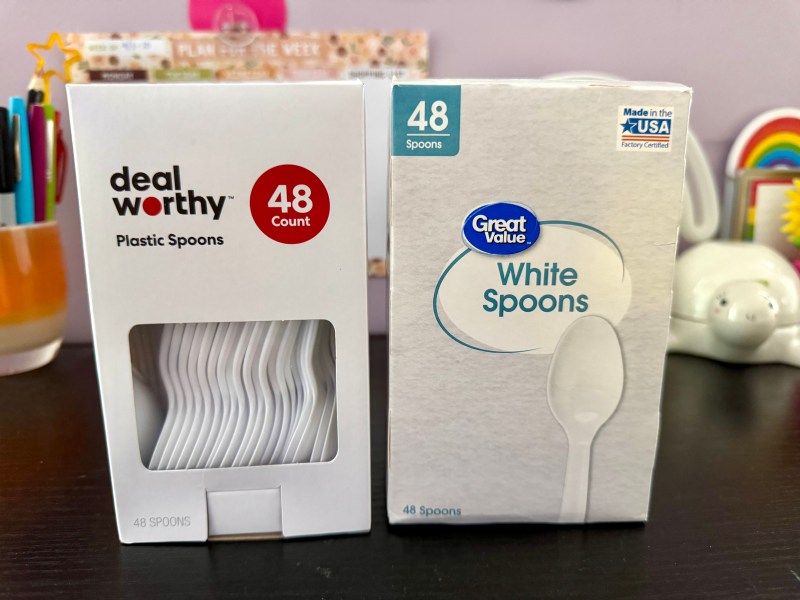
I bought spoons at Target, and I already had some from Walmart. They are almost identical, so I can’t recommend one over the other. I’m sure wherever you get your spoons from will be fine. I didn’t count, but I had to have used about 100 spoons.
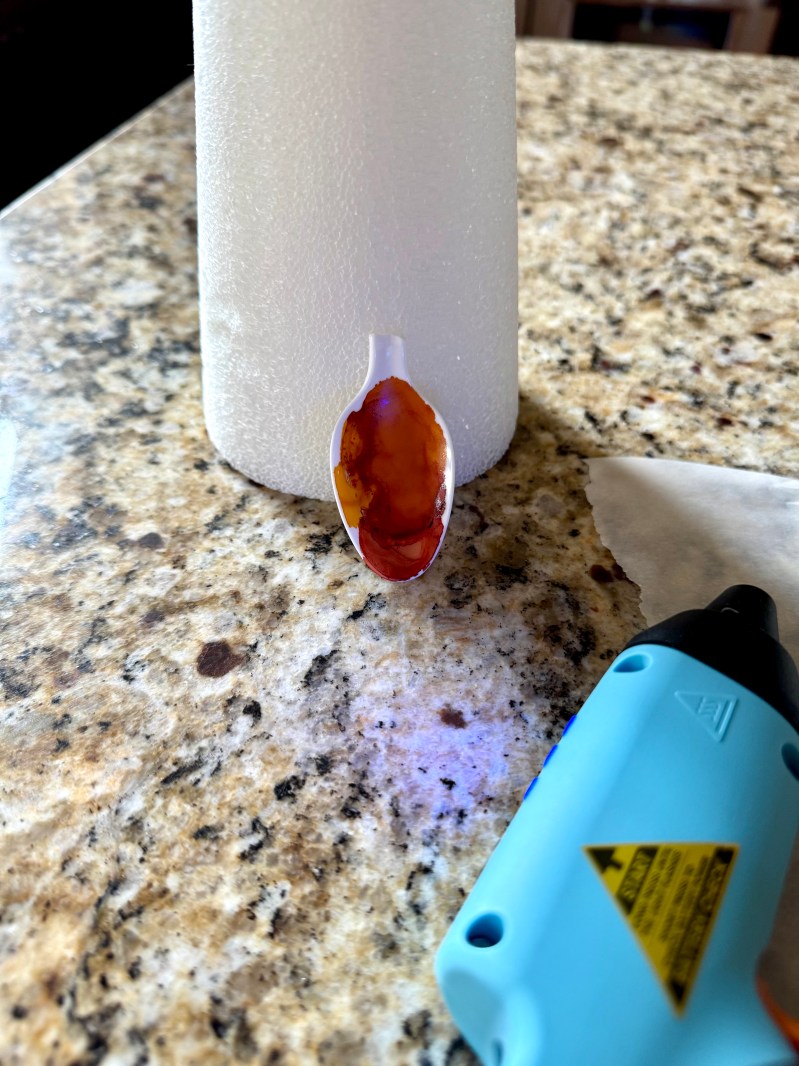
Next I colored the spoons. I have quite the alcohol ink collection, so I was able to use a ton of different colors. You could use whatever you have. The colors will mix, too, so you can end up with even more. I generally stuck to two colors per spoon, but occasionally I would add a metallic color for a little extra pizzazz.

Once the spoons were dry, I attached them to the cone. Starting at the bottom, I made one ring of spoons and then moved onto the next. The bottom row is even with the bottom of the cone. I used my hot glue gun for this. I had to hold each one in place for a few seconds to make sure it wasn’t going anywhere, so I can’t imagine using glue that doesn’t dry almost instantly.
I ended up with a few gaps where you can see the cone in between the spoons, and I’m glad I went with a white cone.
The part I stressed about most was the very top of the tree. I wasn’t sure how to make it not look messy. One advantage of a cone with a pointed top (which this one doesn’t have) is that you can go higher with the spoons. My top row is attached more to the other spoons than the cone, but I was afraid to go higher than that.
After agonizing for way too long, I decided to make a pompom. I could only find my biggest and smallest pompom makers, and I tried the bigger one first. Even after I cut it down by probably half, it was still too big. The smaller one, however, turned out to be just right.
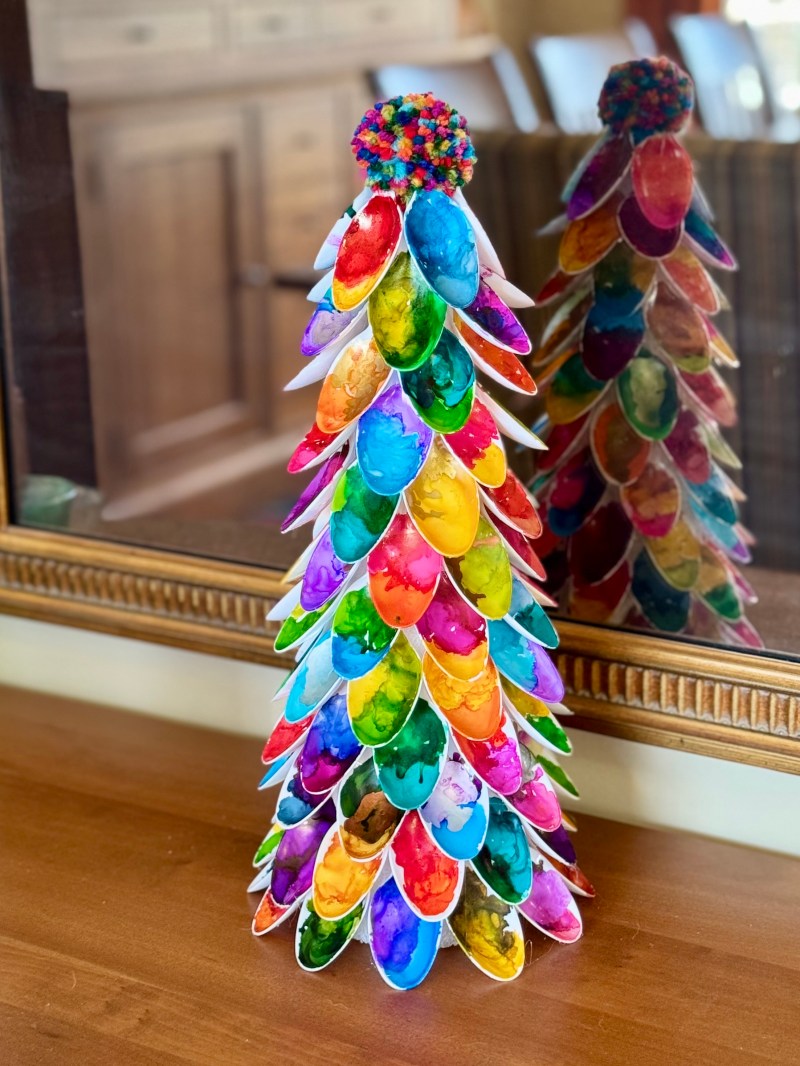
Alcohol ink needs UV protection, so I still have a couple of steps to finish this tree. The first one is to spray it with Krylon’s Kamar Varnish. I love this varnish because it doesn’t react with the ink. It doesn’t contain UV protection, however, I will then have to finish it with Krylon’s UV Archival spray. I probably should have sprayed the spoons after I finished coloring them, but I can still spray the whole tree at once.
I love my spoon tree! I think it will look fabulous next to my pompom tree from last year. So. Many. Colors!
Happy crafting!
